Trip to Spain in May/June 2024
From 23.05. till the end of June 2024 i will be in Spain searching guitars. During this time my shop will be closed.
The golpeador is a plastic tap-protection sheet, which is glued on the guitar soundboard to protect it against the taps (golpes) from the right hand. It can vary according to your tastes
Instructions are provided below about how a golpeador should be attached to a guitar soundboard. I would like to thank my neighbor and friend of many years Sascha Nowak, who taught me with a lot of patience how to attach a golpeador professionally. He is also shown in the pictures here. He is a real artist and one of the best guitar builders I know.
The golpeador protects the soundboard against taps, which are required when you play using flamenco technique, and scratches. Shellac-polished soundboards are especially sensitive and consequently need to be protected, but lacquer cannot withstand the continual tapping (golpes) on the soundboard without visible traces either.
You first have to take off the strings (you can leave them attached at the bridge). Then you have to clean the soundboard and ensure that it is free of grease. Careful with shellac! Do not use any solvents containing alcohol; otherwise the shellac can be dissolved. Then take a golpeador and check on which side the thin protective foil is, which protects the glue. To do this, simply pull on one corner with your thumb; then you can see immediately on which side the thin protective foil separates. This side should be placed face down. On the upper side, mark the side that will be adjacent to the bridge using a felt pen, the markings of which can be wiped off again. If we mix up the sides, the cutout for the sound hole will not be in the right place.
First, take a bit of adhesive tape; the best would be masking type, which is used during painting. Then create small squares from it by taping several layers of the tape on top of one another and cutting out squares. Using the squares, mark the position of the golpeador at the bridge bracket. Leave at least 1 mm of space to the bridge bracket, because lacquer often accumulates there and the golpeador does not adhere cleanly.
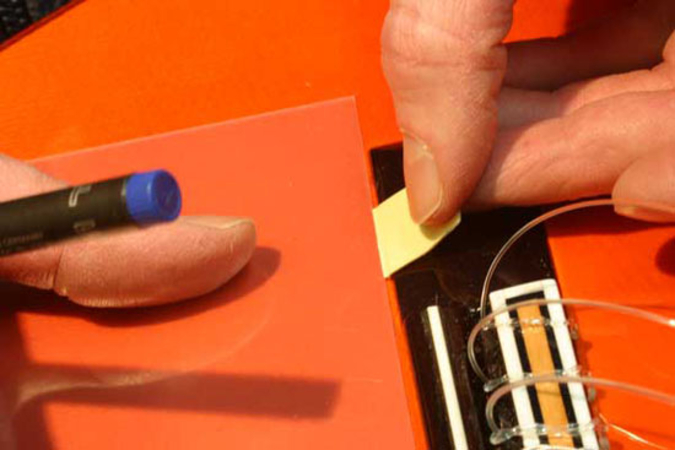
We glue two small squares on the bridge for the distance to the back and one above on the soundboard; it should be flush with the bridge at the top. Then there is sufficient space at the top for golpes without danger of damage to the soundboard. The normal golpeador, which is approx. 20 cm, then runs down approx. 1 cm past the bridge, which suffices to protect the soundboard from golpes with normal flamenco technique. If someone uses golpes in an undisciplined manner, I recommend purchasing an extra large size (22 cm) to protect the soundboard down to the side.
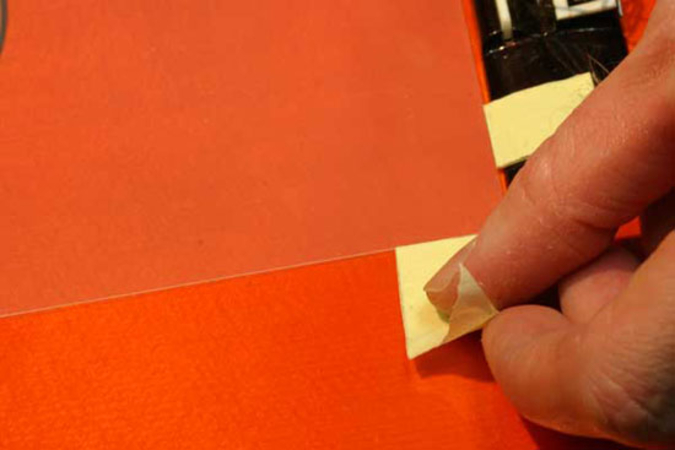
Then outline the length using a ruler. The golpeador normally extends to the middle of the sound hole.
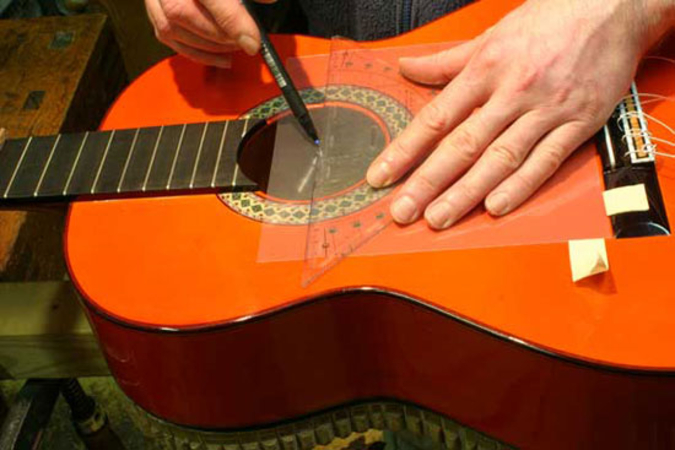
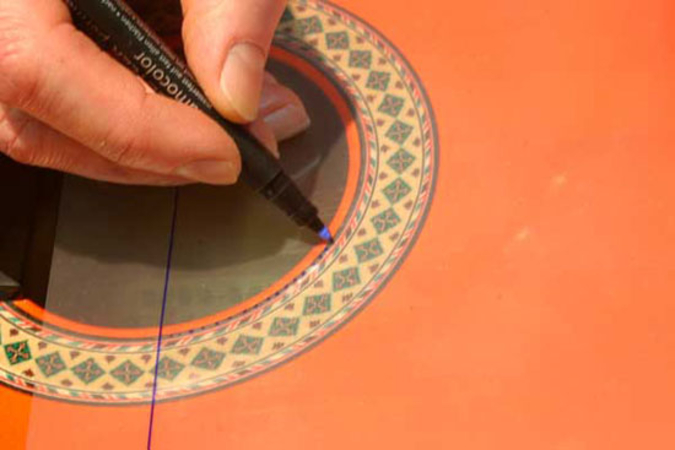
Take a round object to mark the corners, e.g., a roll of tape or a glass. I find that it looks nicer when a golpeador is smoothly round at the corners, and consequently I always use an object with a large radius. But you can also make only slightly rounded edges. That’s a matter of taste.
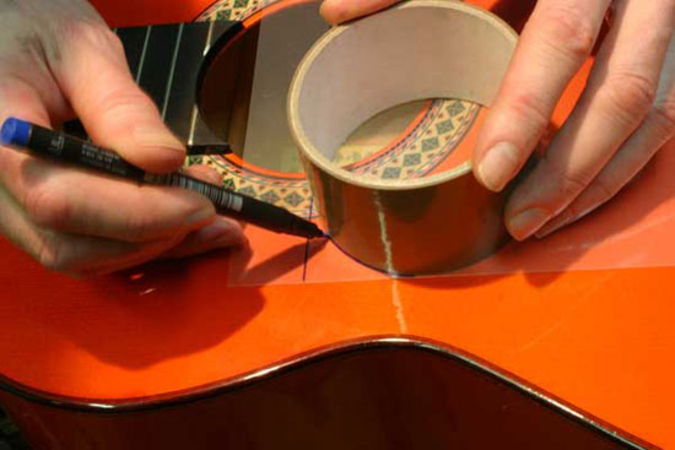
It should look like this when everything has been drawn correctly at the sound hole.
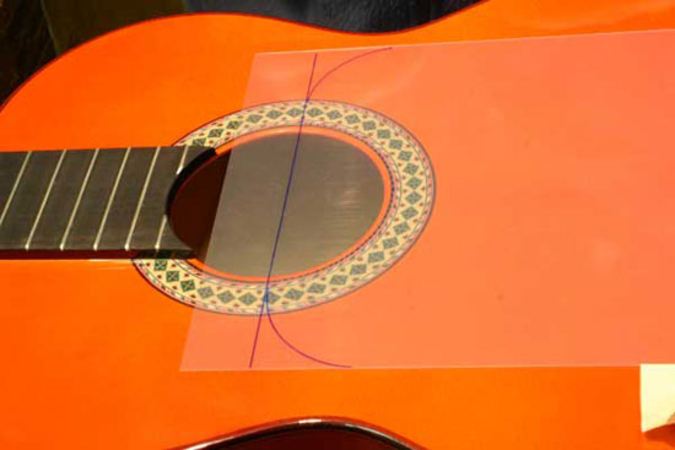
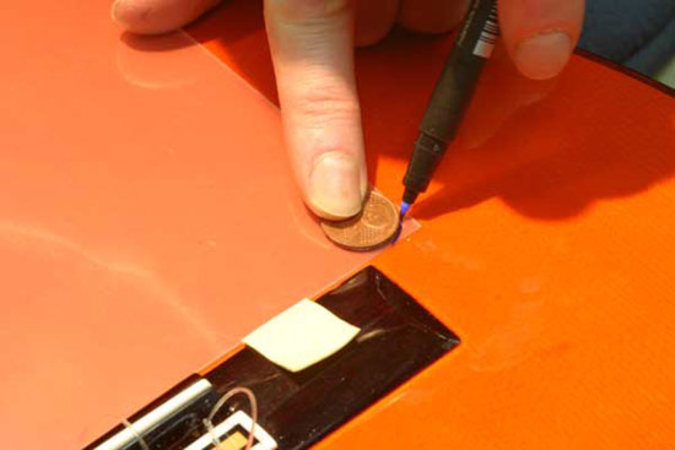
Then mark the curve using a small coin at the bottom of the bridge. The golpeador at the bridge stays straight, because it is flush with the bridge.
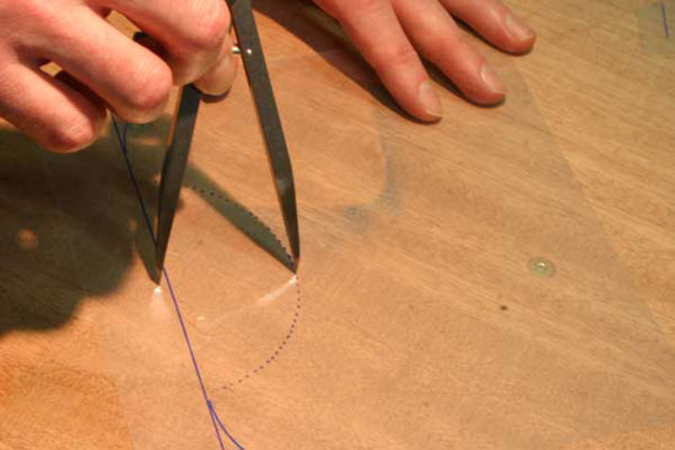
Then place the golpeador on a hard surface and mark the sound hole cut-out using a compass or dividers (if available). The golpe plate is thereby scratched and easier to cut out later. A pro constructs a kind of scalpel for the compass and cuts out the section directly using it. You have to work precisely when you locate the middle; otherwise the plate will not fit on the sound hole later. If you do not have a compass or dividers for cutting, you can simply use round nail clippers
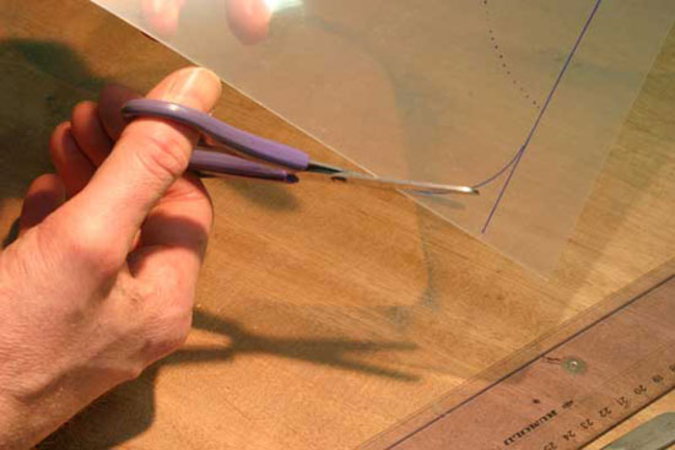
Then pare the golpeador lengthwise using a ruler and a scalpel; you can also use a scissors if you don’t have anything else. However, it should not be sharp, because otherwise there will be a bump on the edge of the plate that will always be visible.
Peel off the protective foil a few centimeters for the glue on the side of the bridge, and then place the golpeador carefully on the three marked points – not too flat, so that it does not stick immediately. When you are certain that it is placed correctly (straight), rub on the back part with your finger and hold it tight. Then peel off the foil slowly further, continually rubbing on the golpeador slightly.
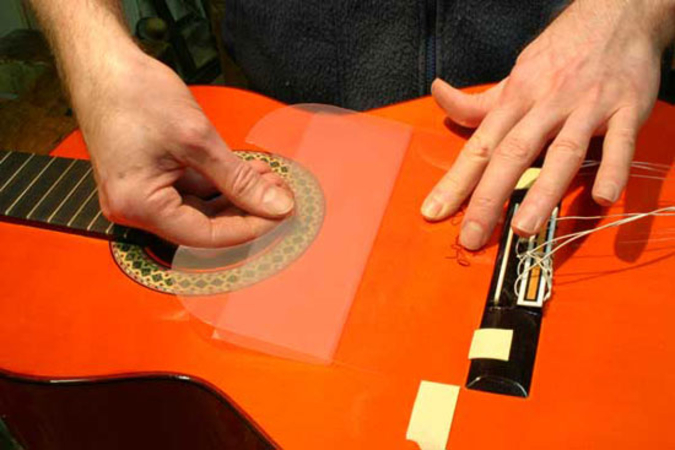
Caution! Once it sticks, do not pull it off again; that produces bright spots, which cannot be removed anymore. Consequently, try to work more slowly and precisely.
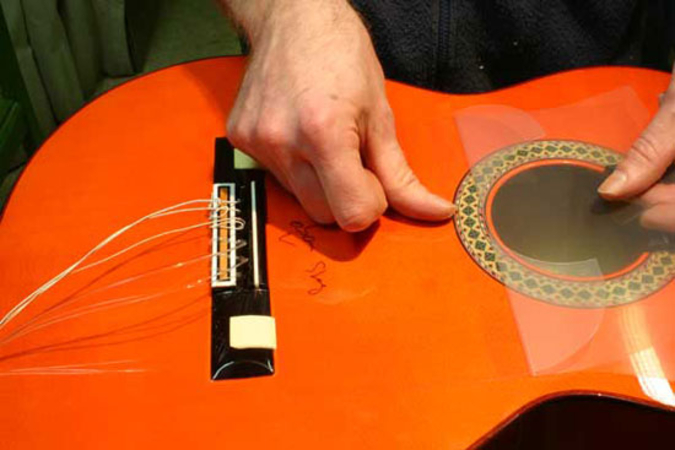
You did it; the foil is in place. Rub the corners using your thumb or a pice of wood involved in soft fleece or paper once more. Careful if you have a shellac guitar; if your thumbnail presses the shellac on the golpeador edge, ugly marks can result.
Any bubbles you can try to eliminate moving the tool to the edge.
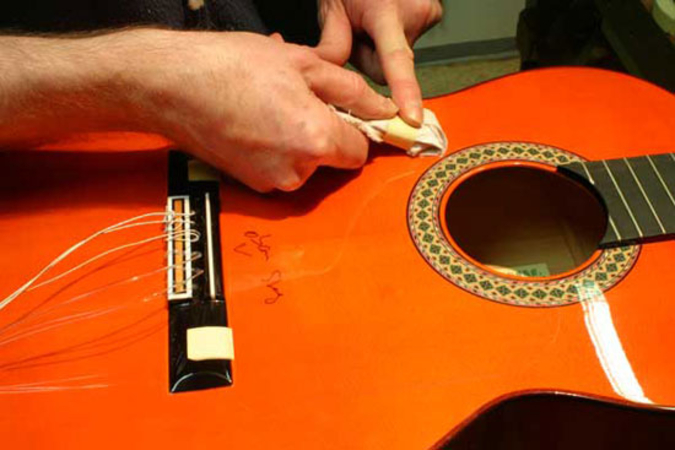
With the rest of the golpeplate you can put a small piece behind the bridge to avoid an ugly mark on the top when a string rips.
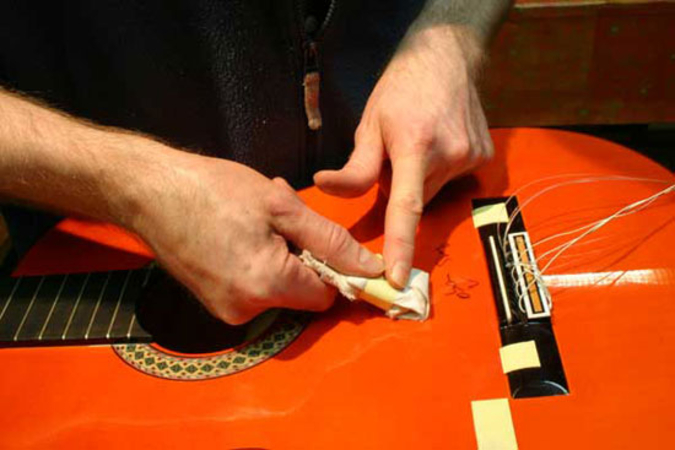
Removing the Golde plate is possible with any liquide which doesn’t contains alcohol, Alcohol resolves the french polish
Thanks a lot to the guitar builder Sascha Nowak who helped me to explain it correctly and who was my handmade for the pictures.
New guitars, workshops, interesting reports… directly informed with our Mundo Flamenco newsletter! Register now!
Mundo Flamenco
Johannes Inhoffen
Yorckstr. 21
79110 Freiburg/Germany
Phone +49 761 28 74 28
Trip to Spain in May/June 2024
From 23.05. till the end of June 2024 i will be in Spain searching guitars. During this time my shop will be closed.
All News >
Satisfied customers are important to us and confirm our commitment! We would also be happy to receive your review.
© Copyright by Mundo Flamenco, Johannes Inhoffen. Data privacy | Imprint | Site by kw